Tools Needed: Phillips head screwdriverFollow along as we replace the flow regulator knob on a FlowZone® Vortex Flex™.
Watch:
Step-By-Step Instructions:
STEP 1: Place the Vortex Flex™ on a solid surface
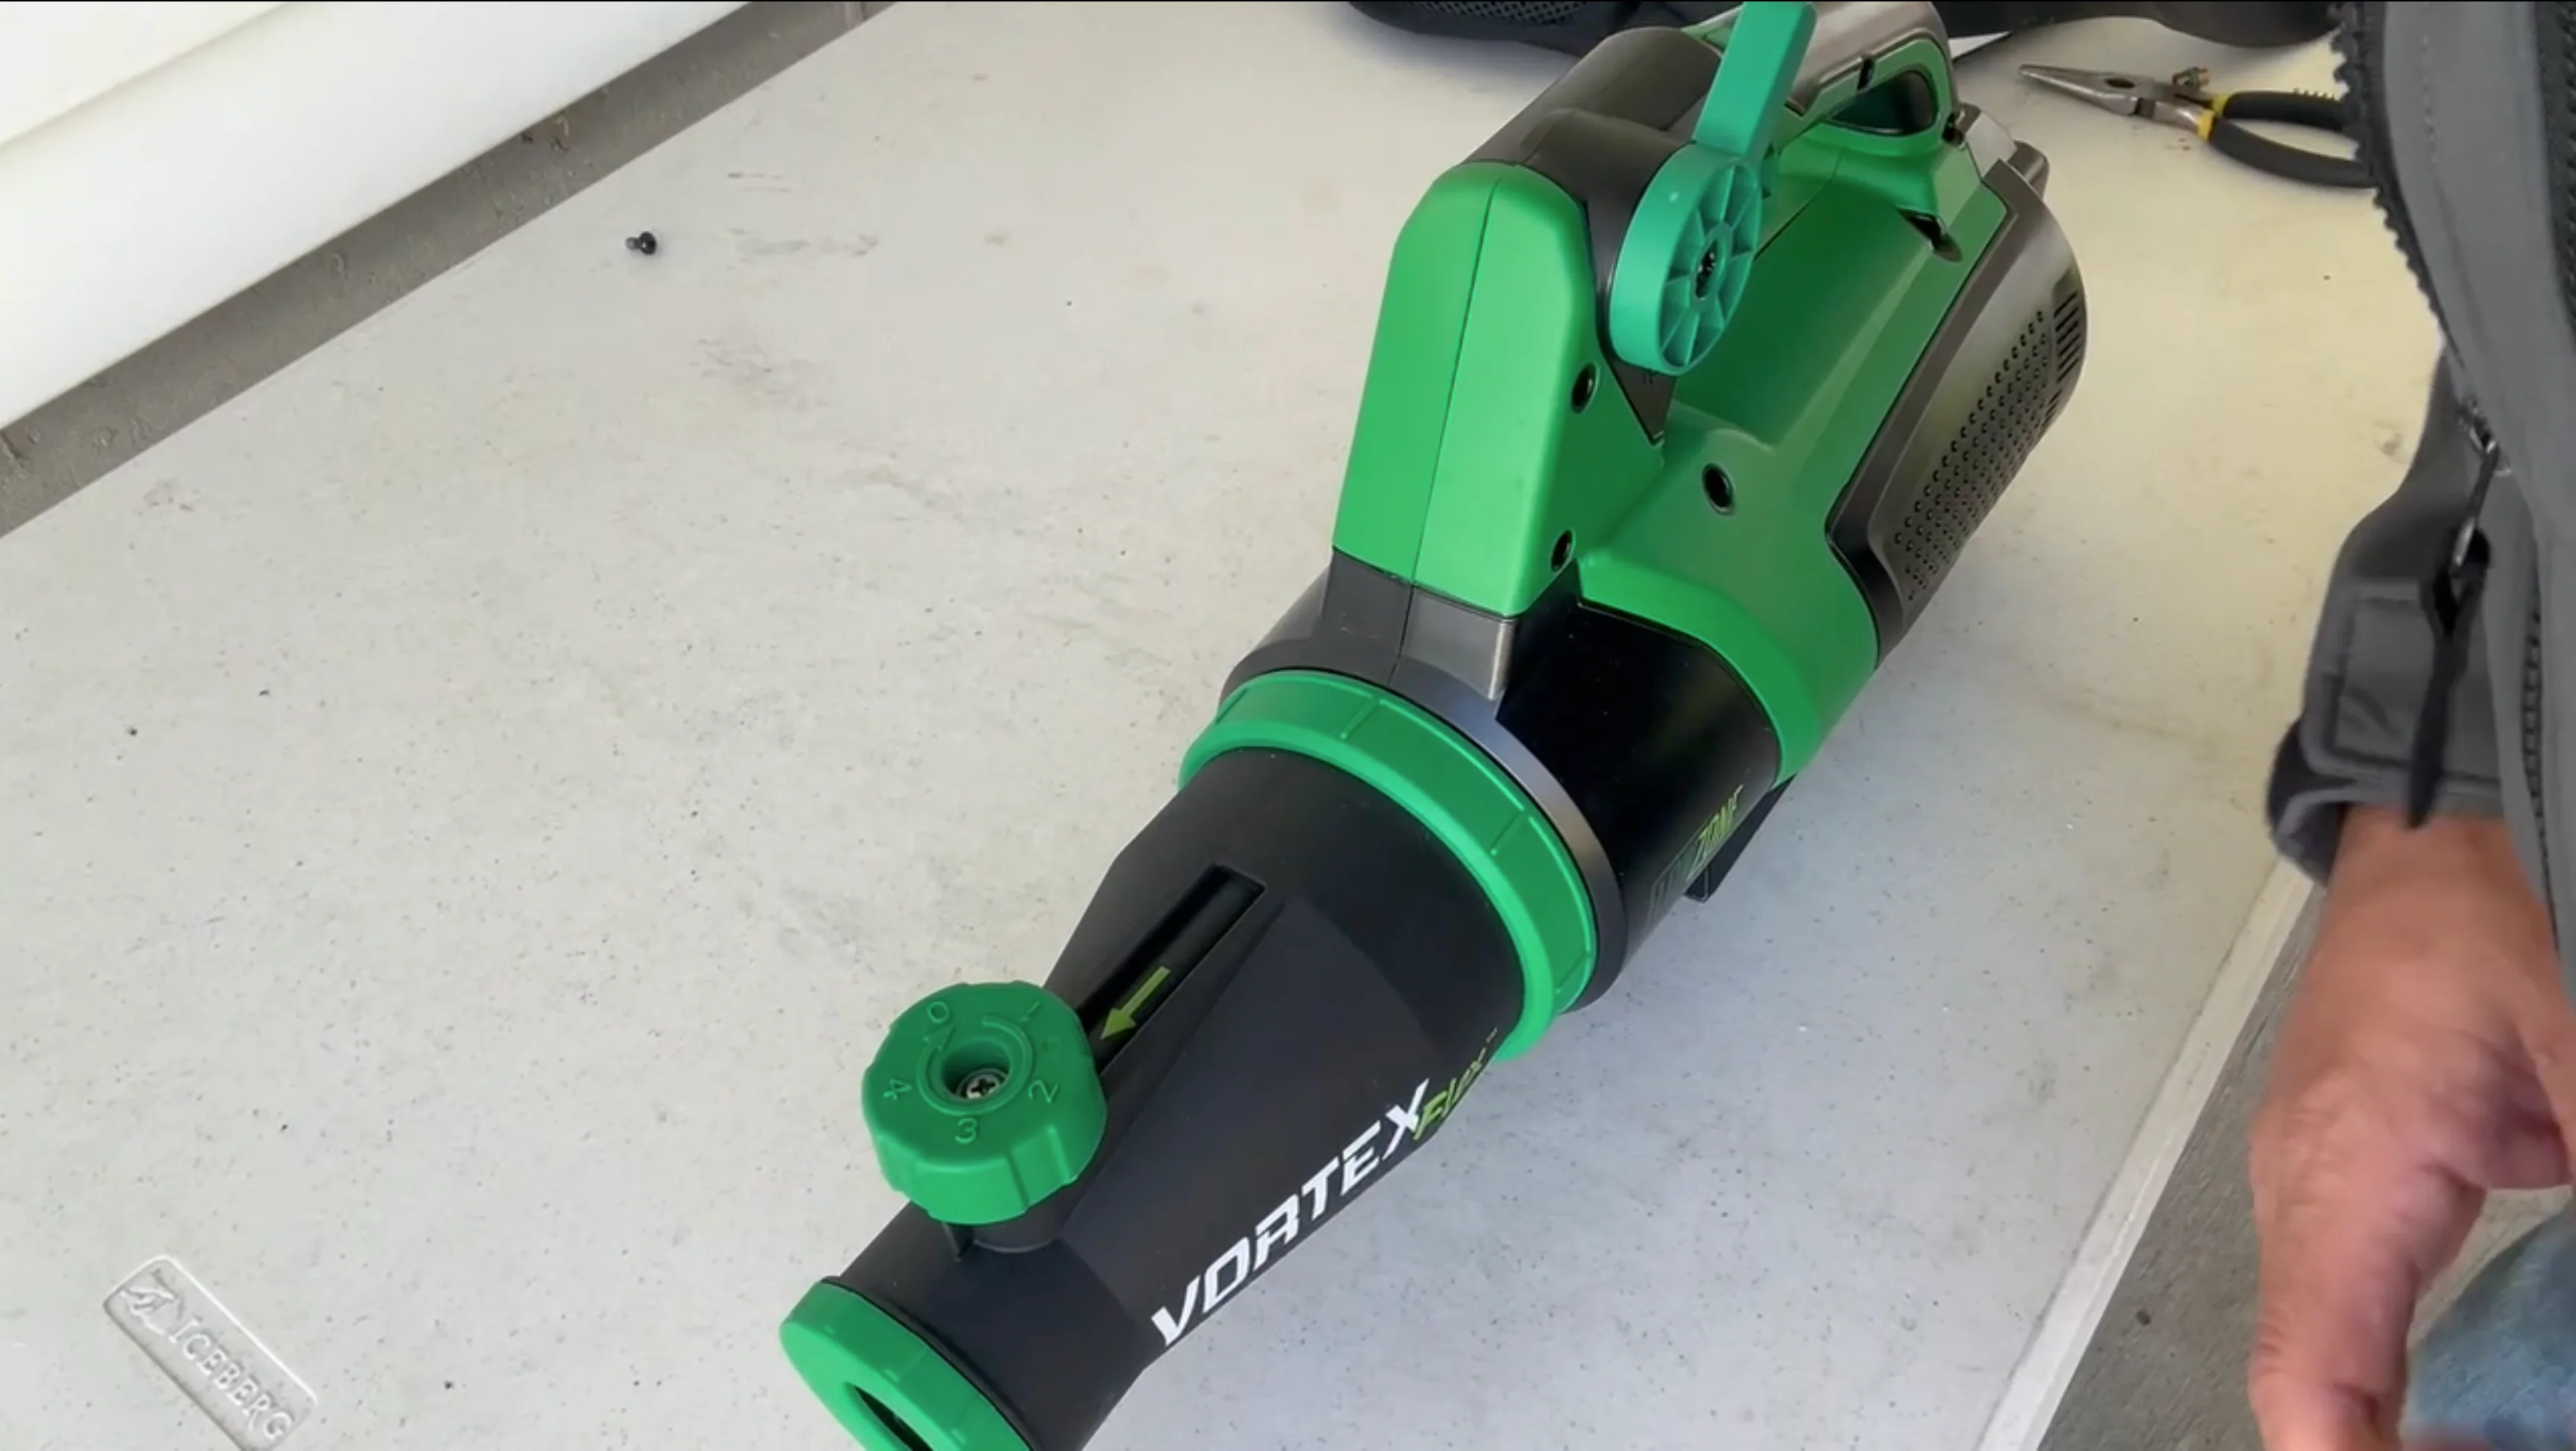
To prepare for the replacement, set the Vortex Flex™ on a flat working surface
STEP 2: Remove the Center Screw
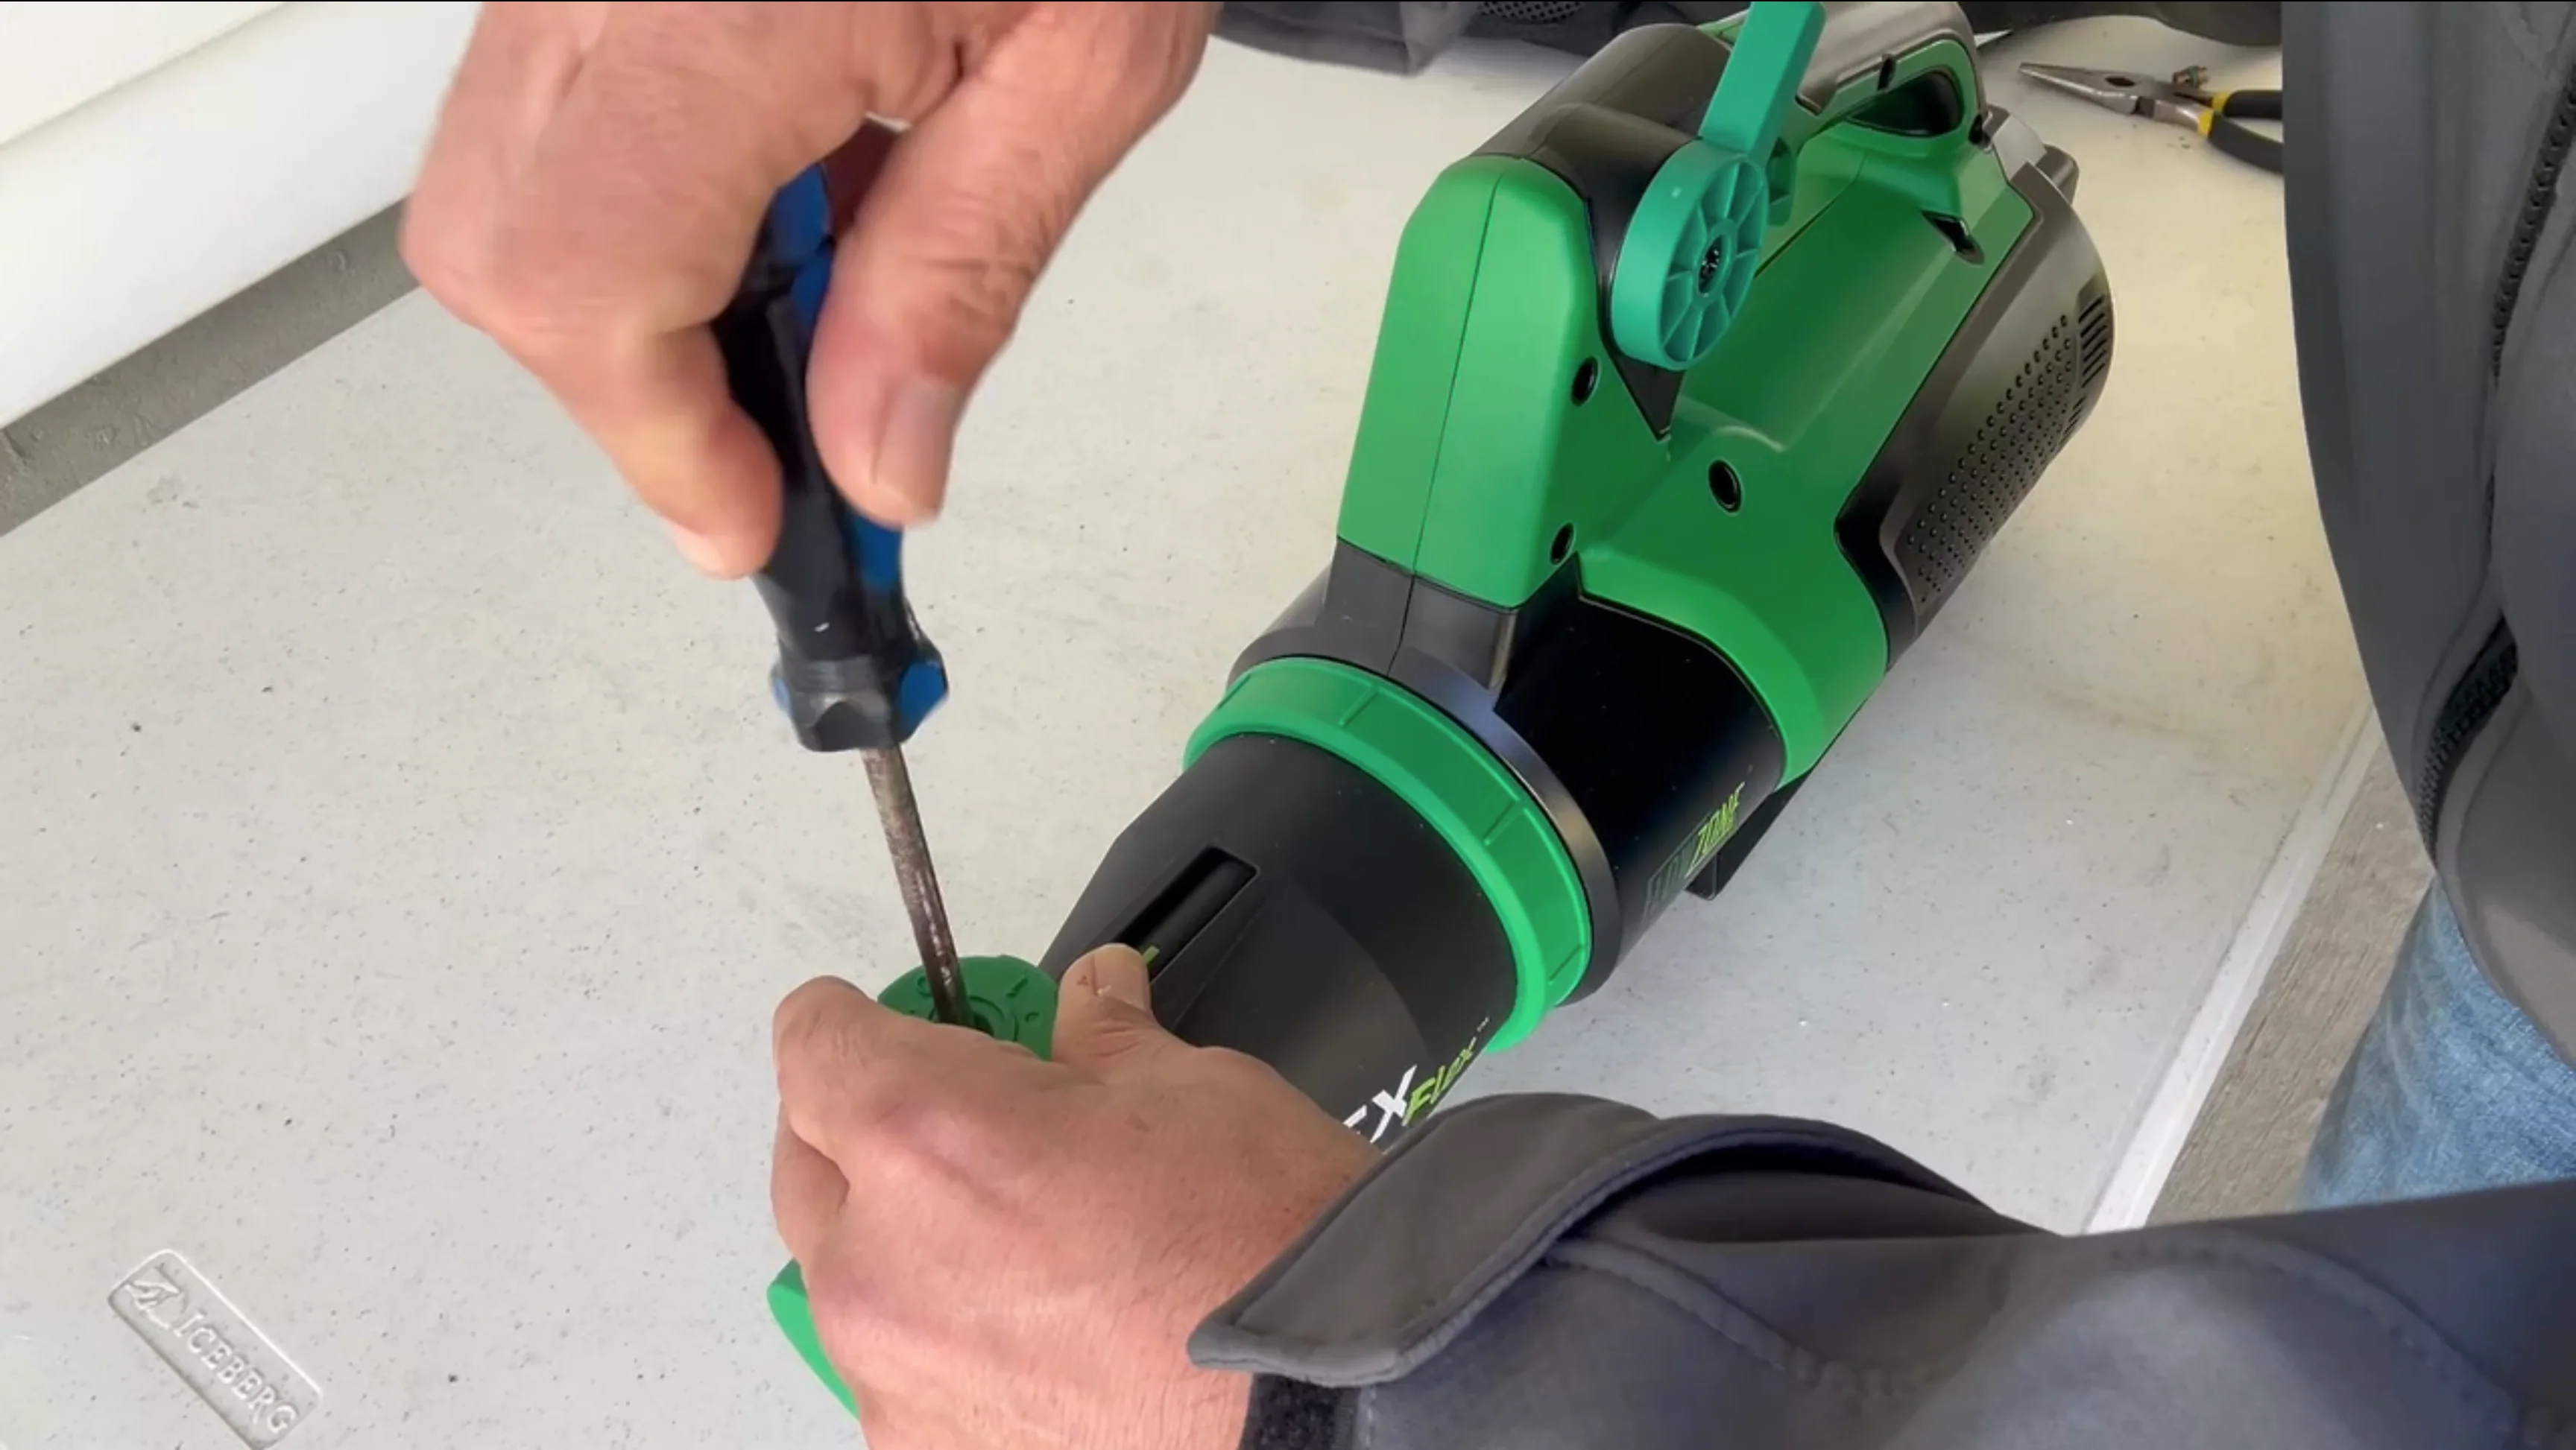
Using a Phillips head Screwdriver, remove the center screw by turning the screwdriver counter-clockwise.
STEP 3: Carefully Remove the Flow Regulator
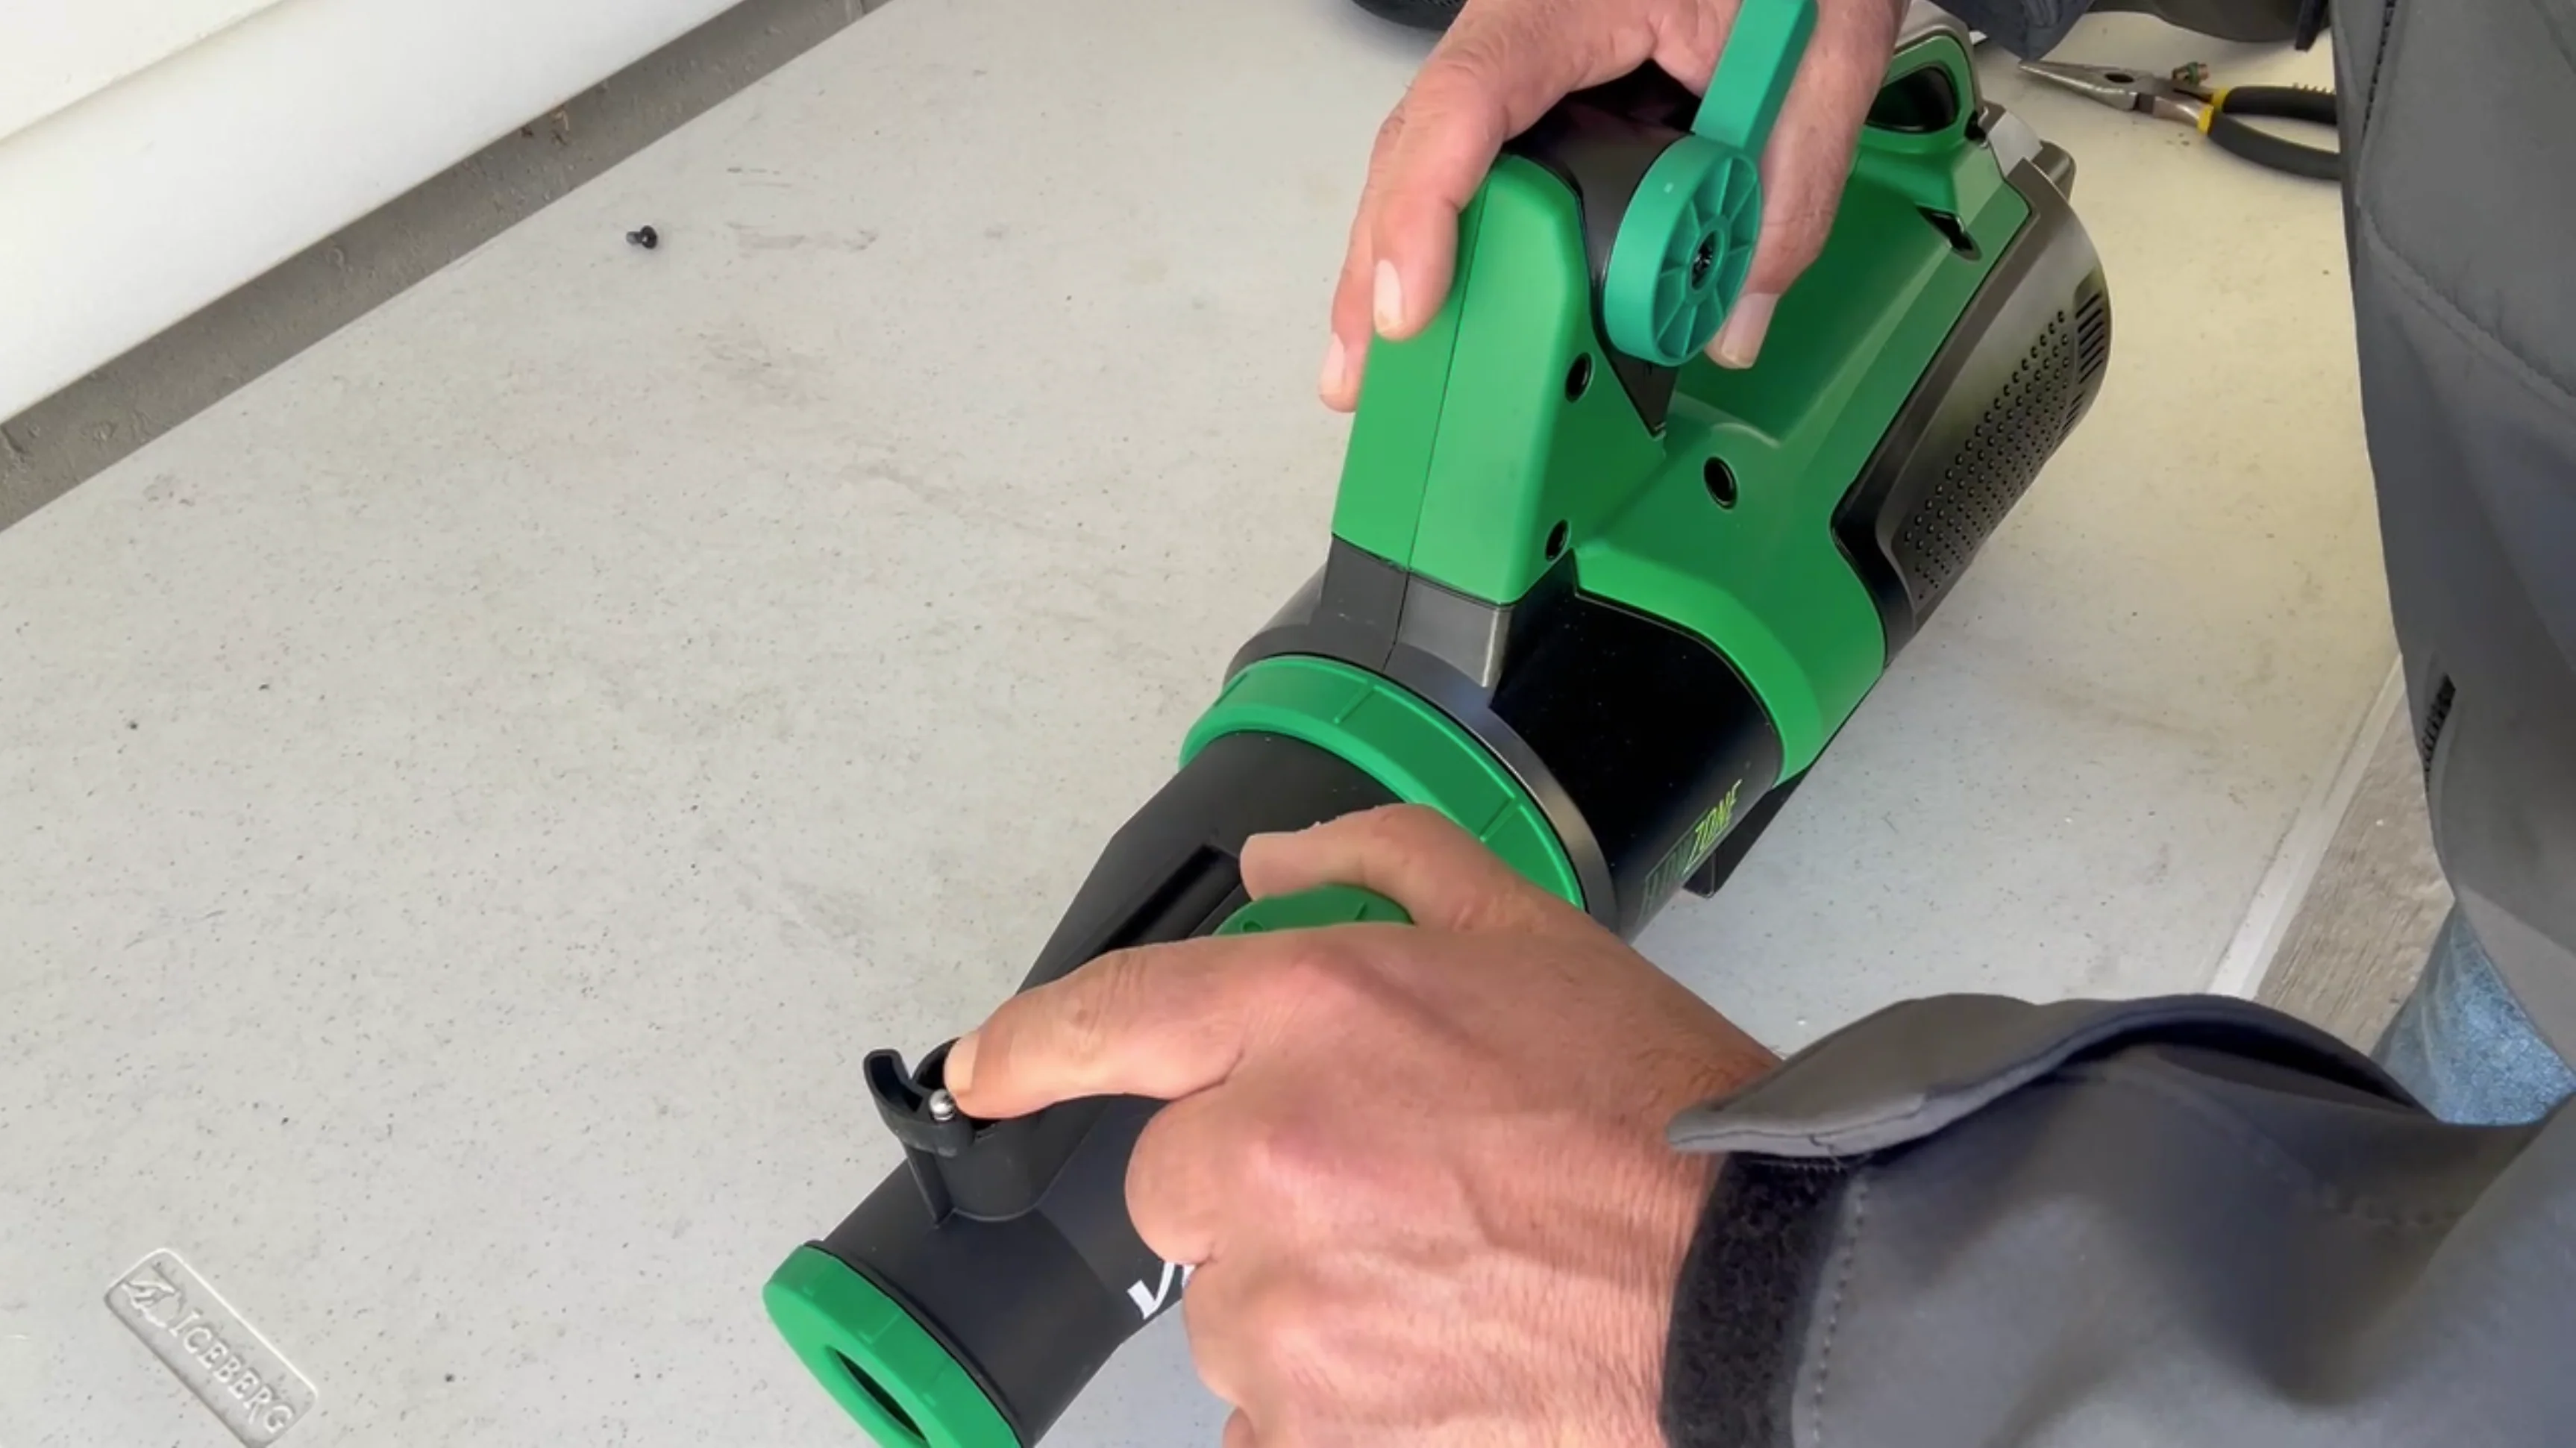
Place one hand on the Vortex Flex™ body to hold it down: with your other hand, wiggle and pull the regulator out carefully.
Note: there is a small ball bearing under the flow regulator, be careful not to misplace this ball bearing.STEP 4: Set the Ball Bearing on the Front Spring
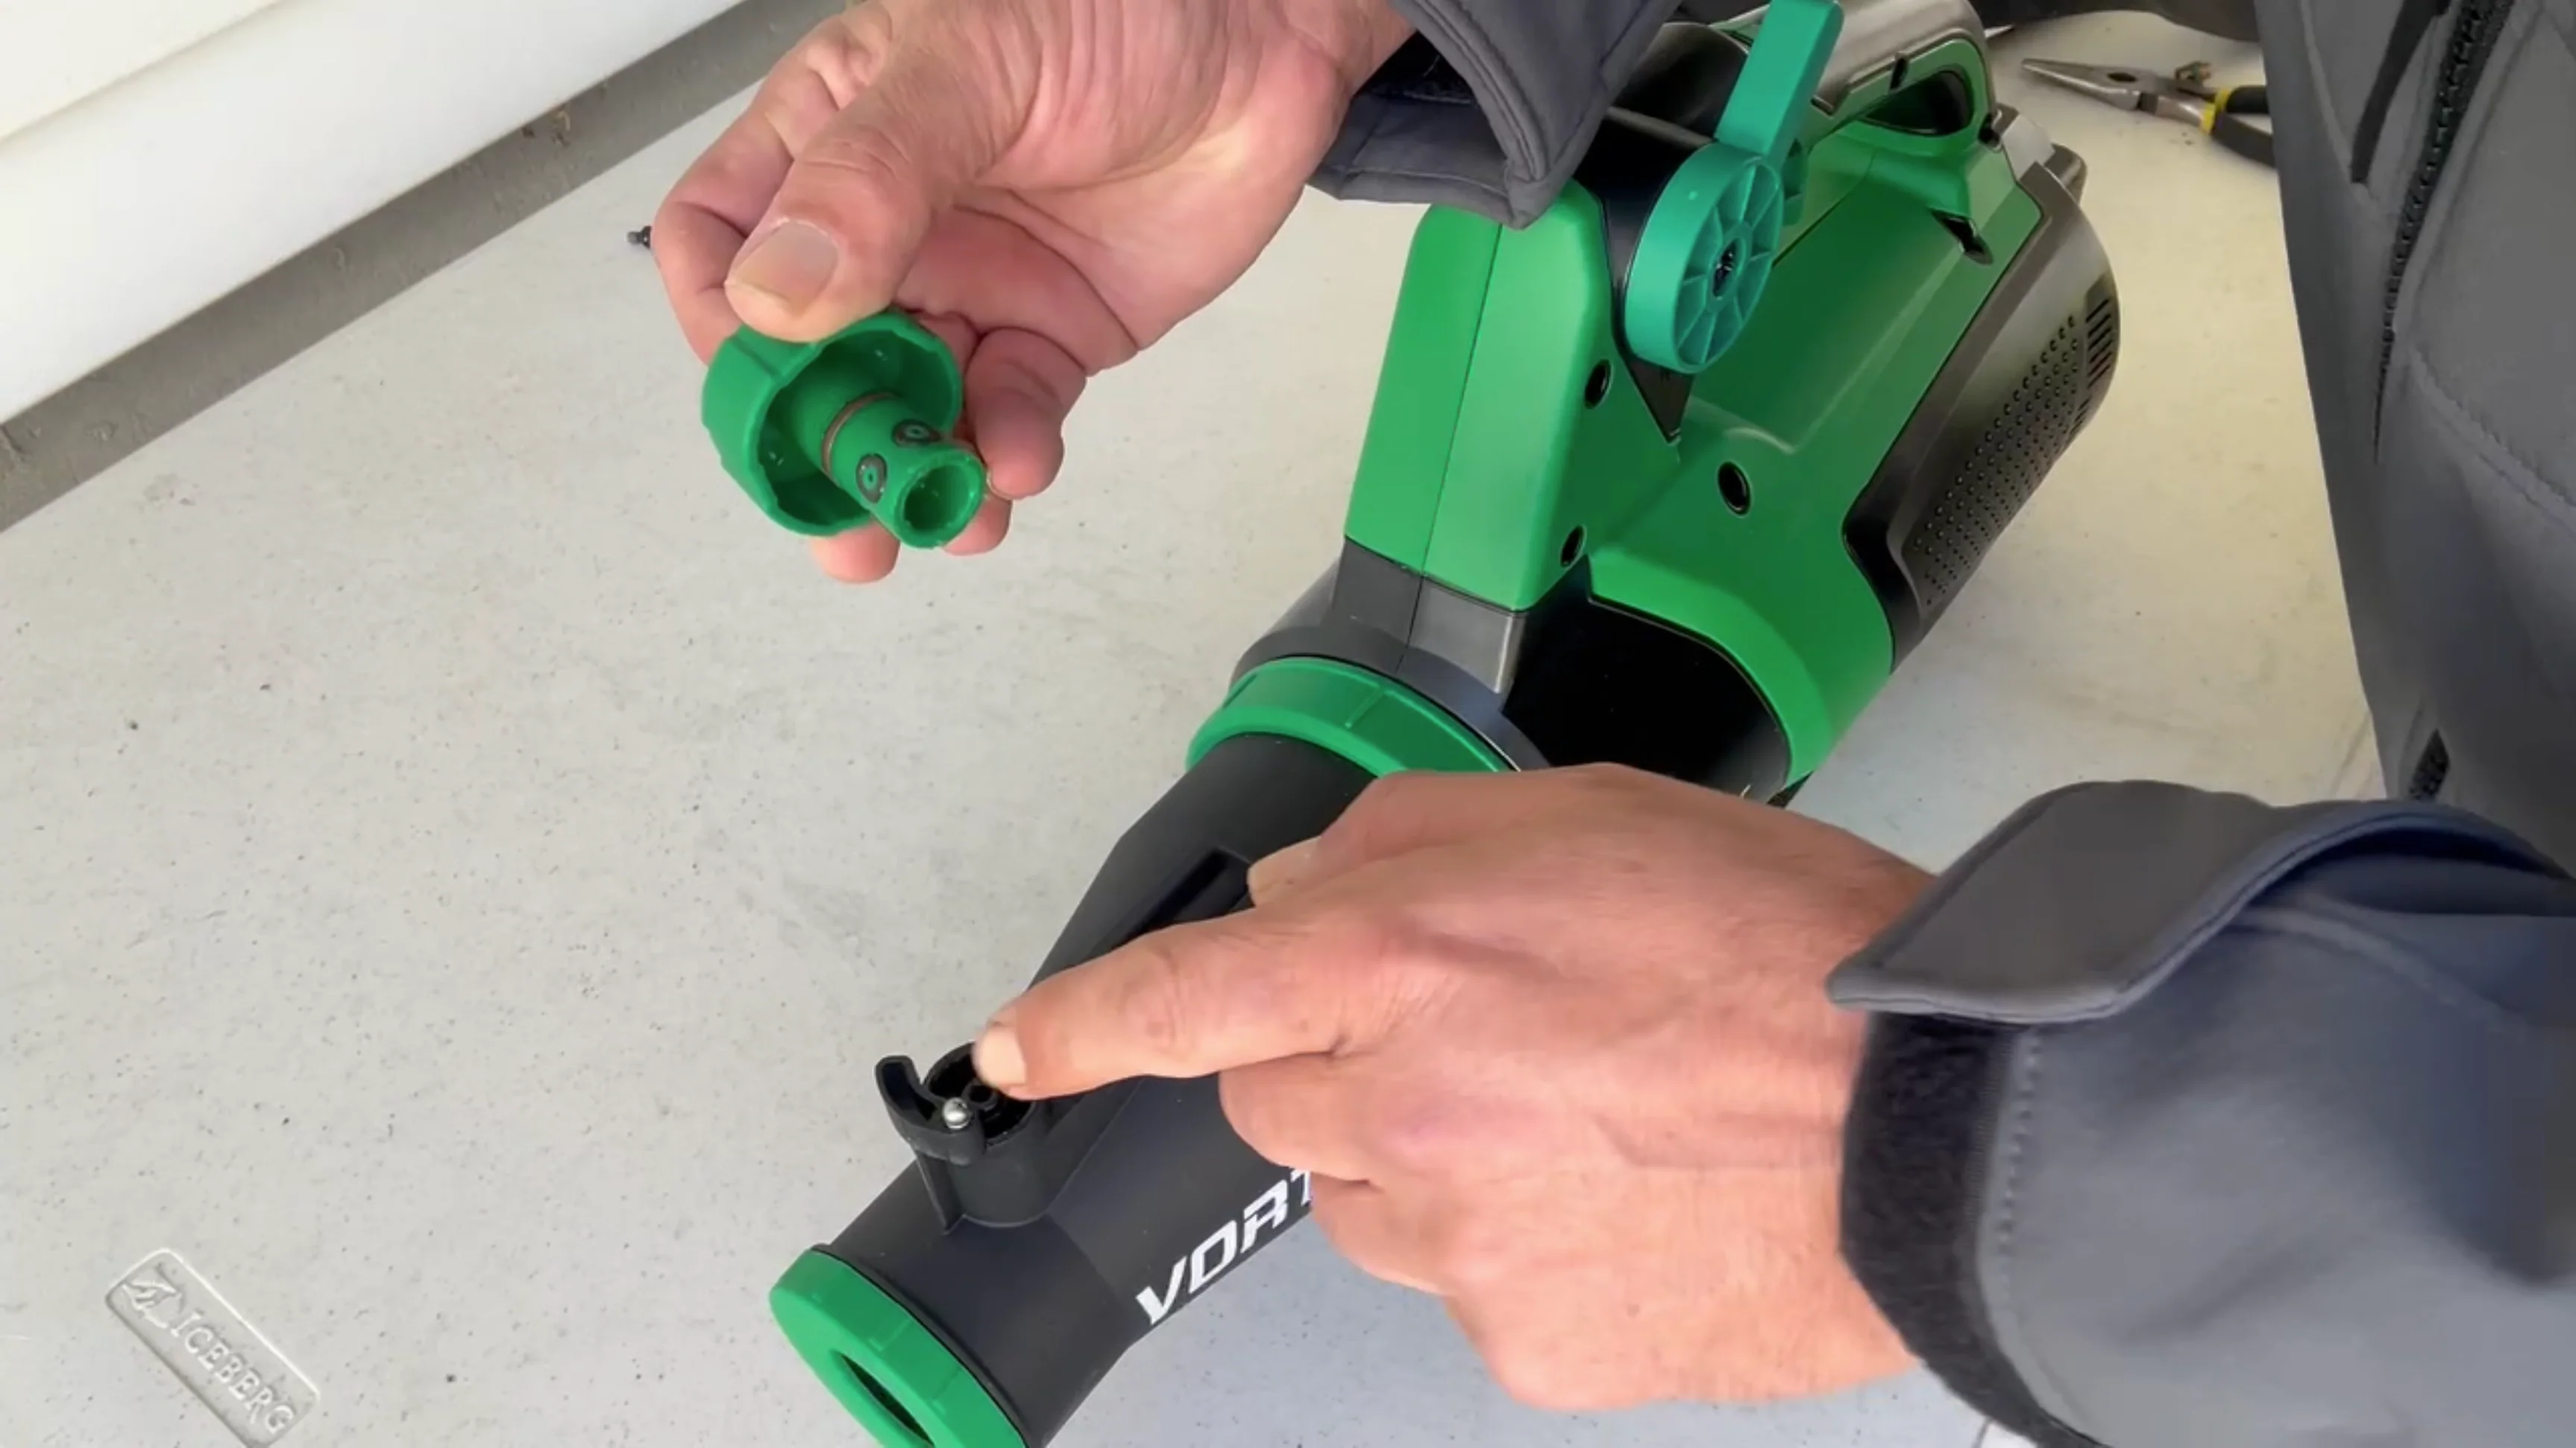
Ensure the ball bearing is seated on the spring.
STEP 5: Install the Replacement Flow Regulator
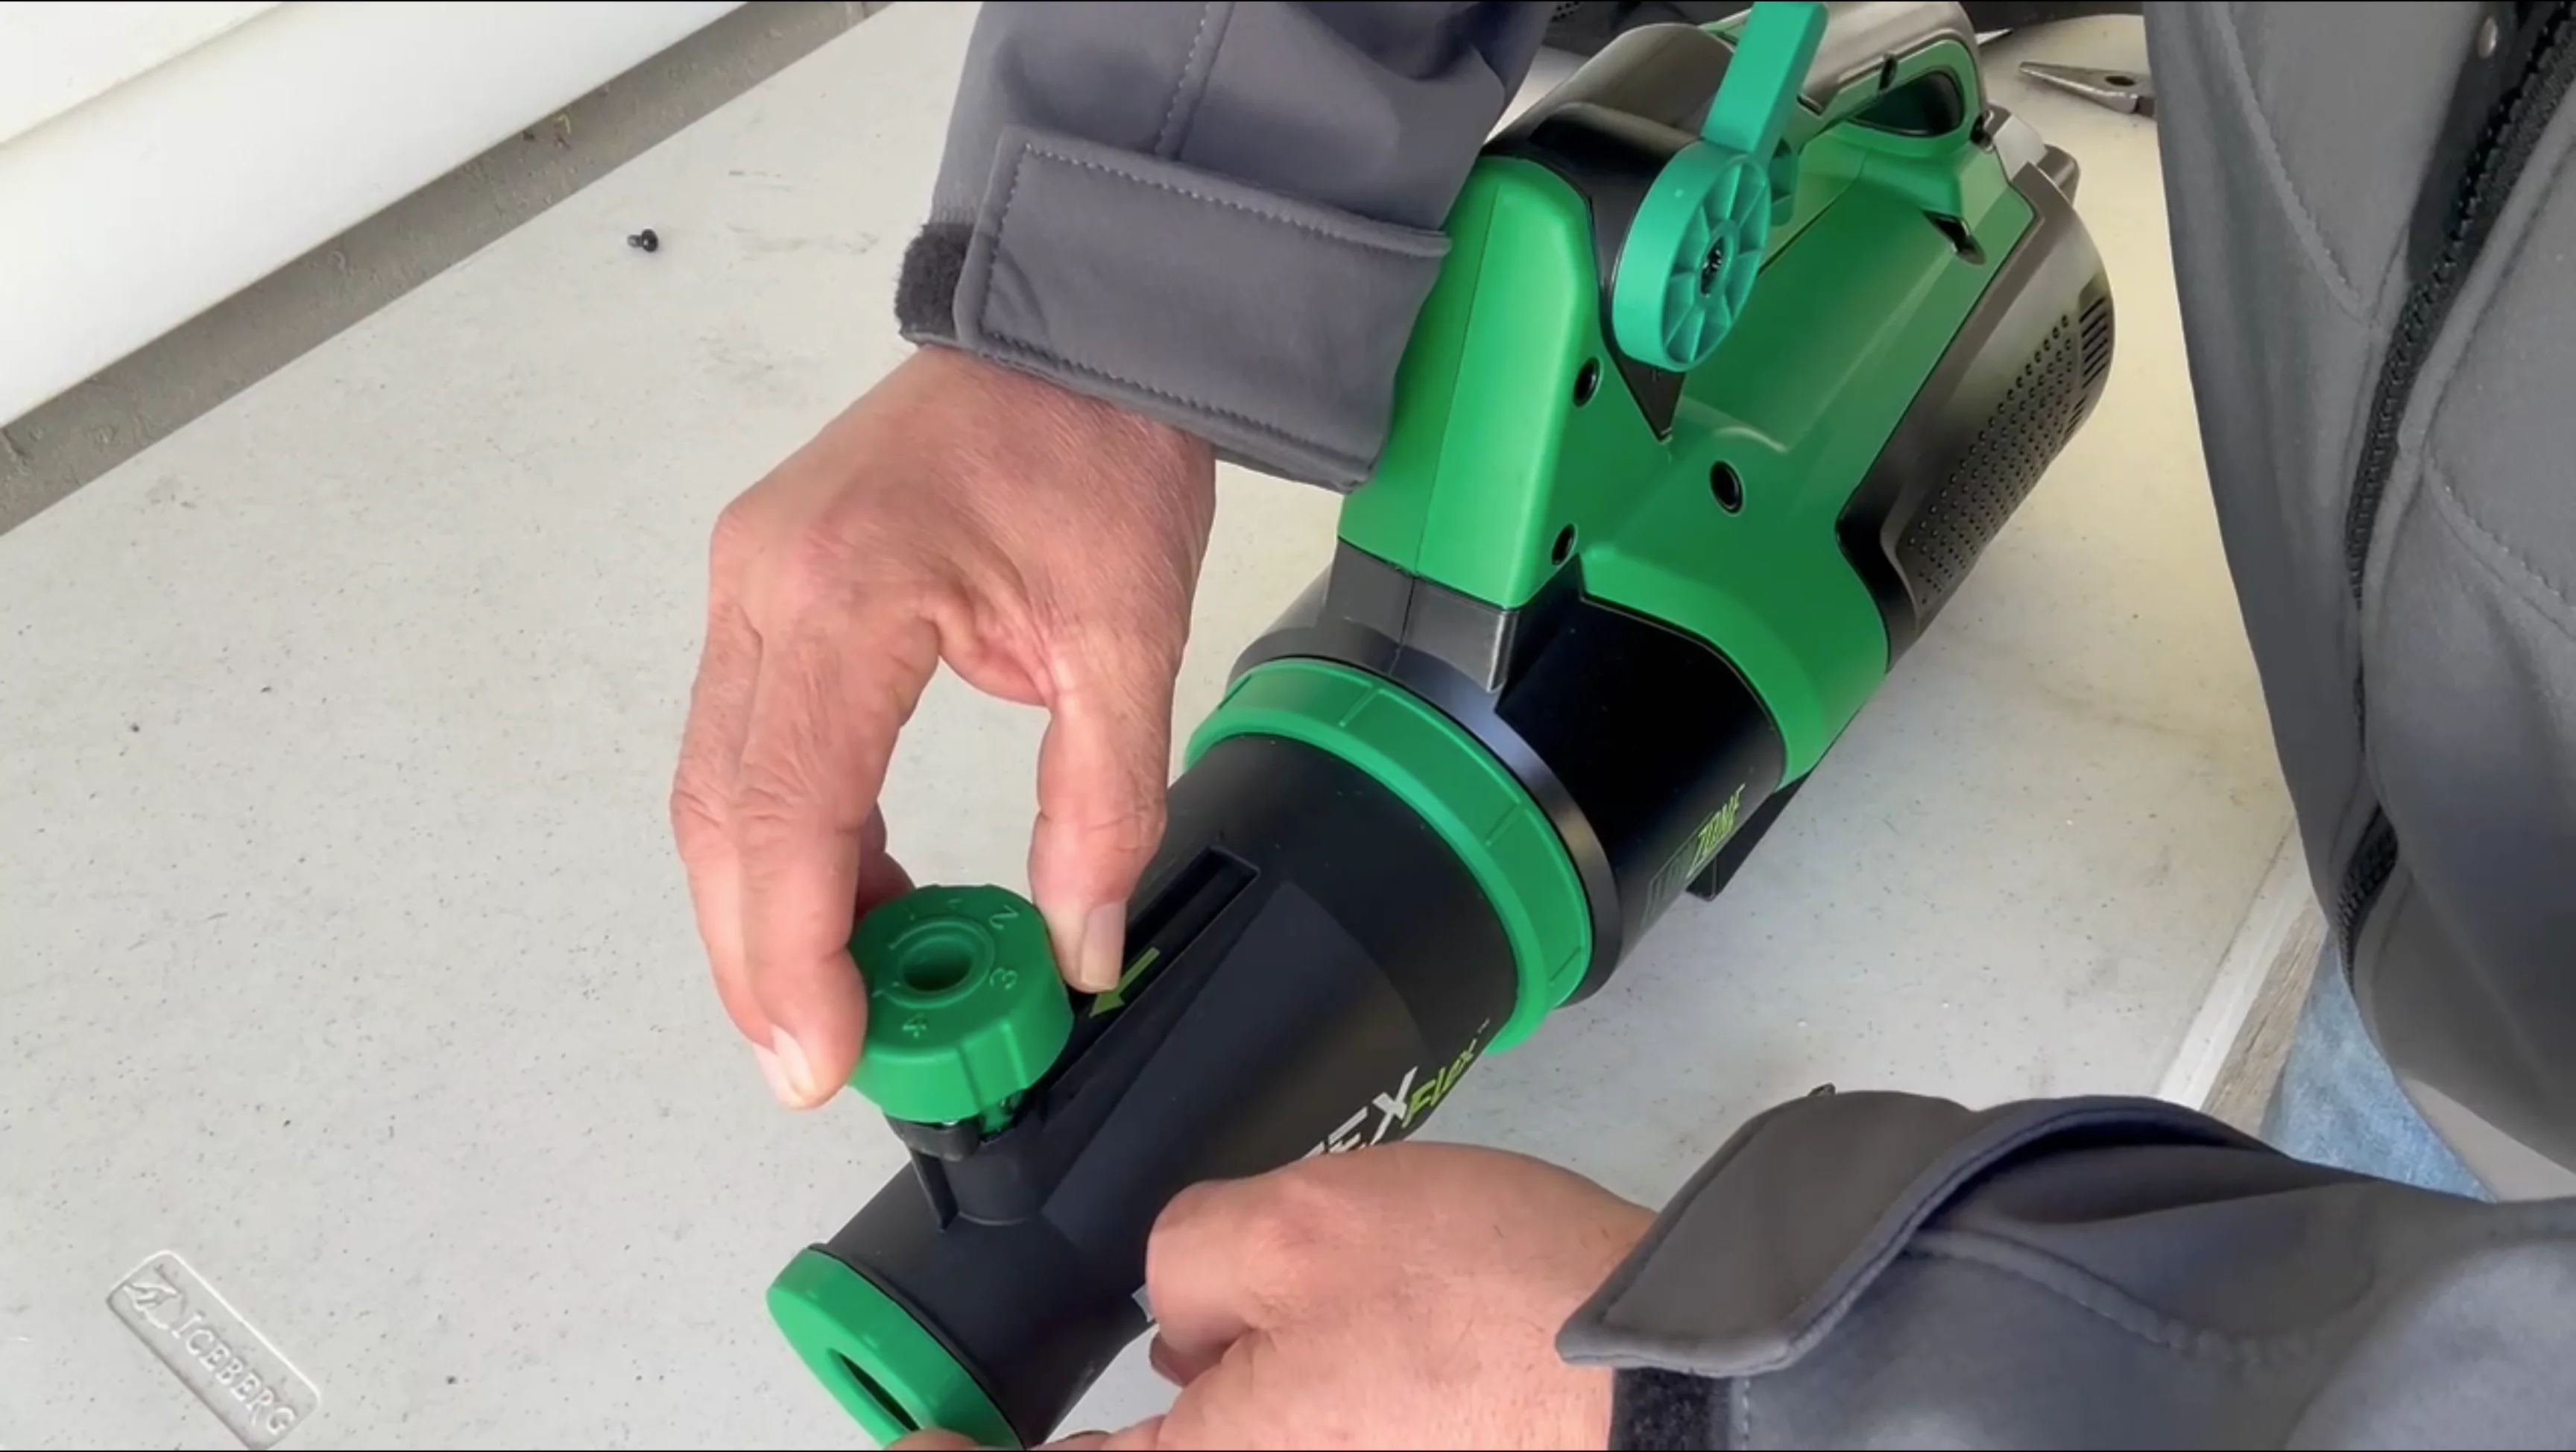
With any number (0-4) positioned towards the arrow on the Vortex Flex™ body, push down on the flow regulator knob until it is completely seated.
STEP 6: Secure with the Center Screw
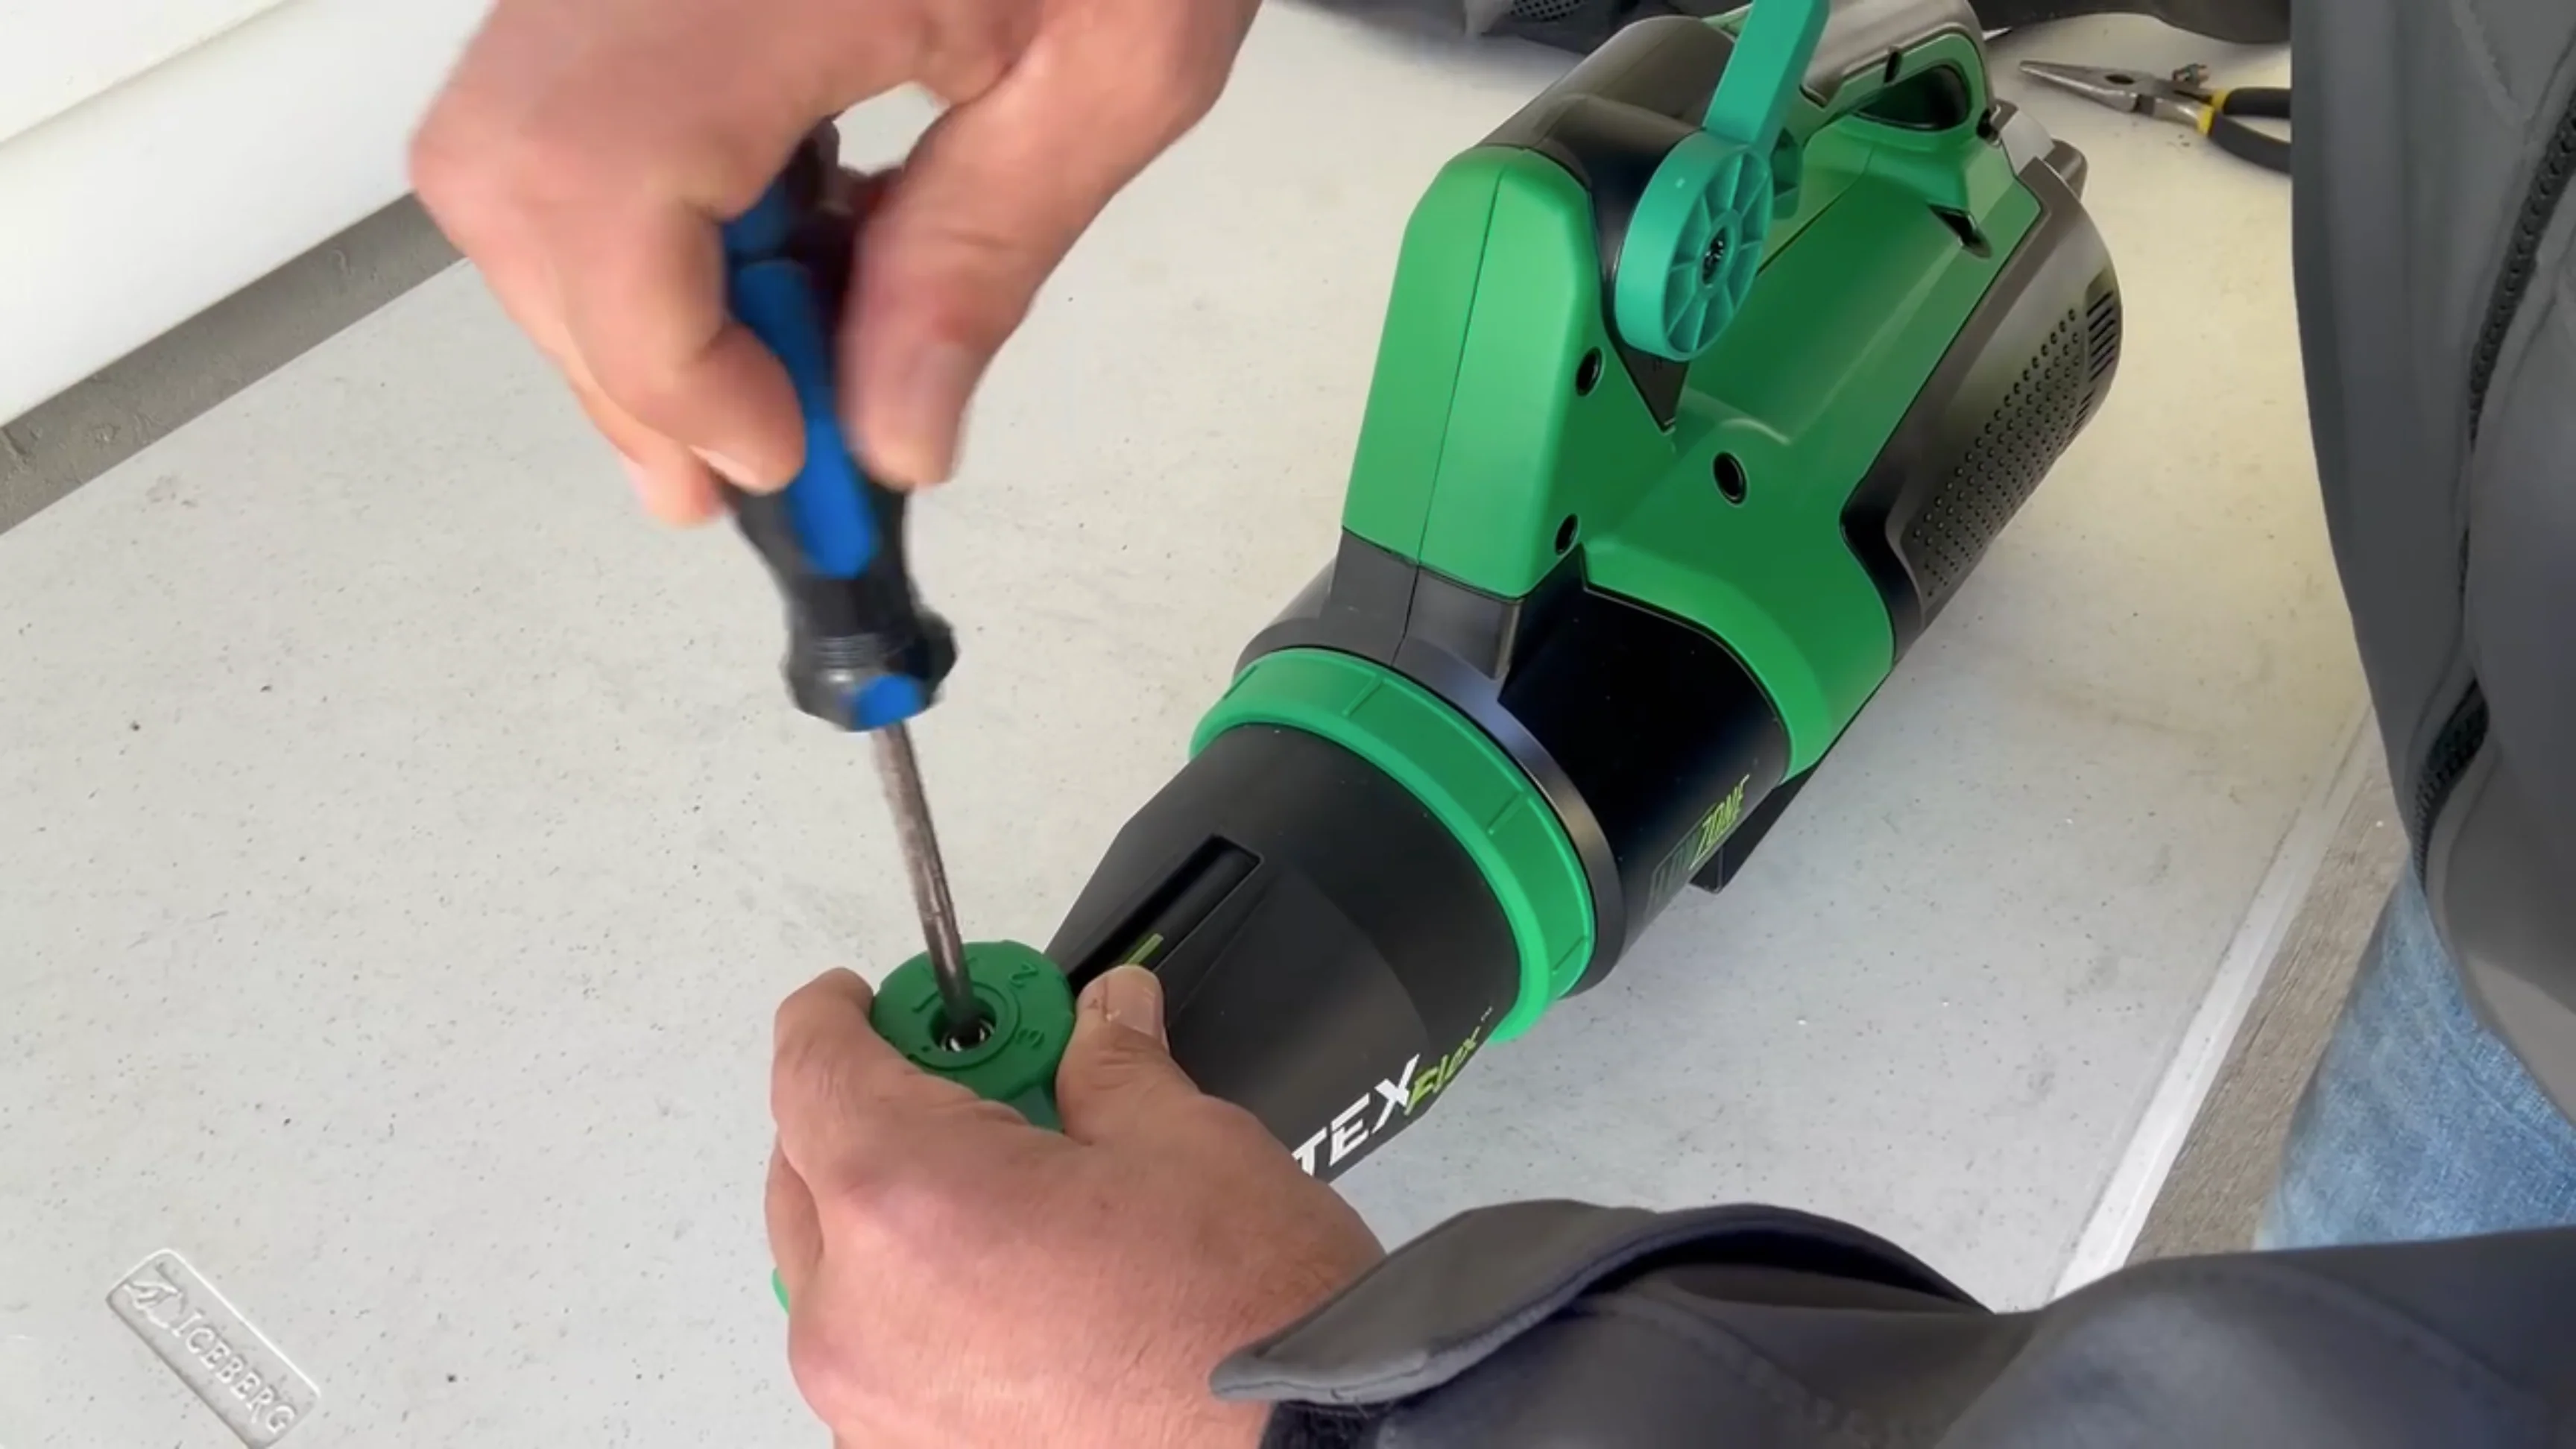
Use the Phillips screwdriver to tighten the center screw clockwise until hand tight.
Was this article helpful?
That’s Great!
Thank you for your feedback
Sorry! We couldn't be helpful
Thank you for your feedback
Feedback sent
We appreciate your effort and will try to fix the article